Managing User Groups
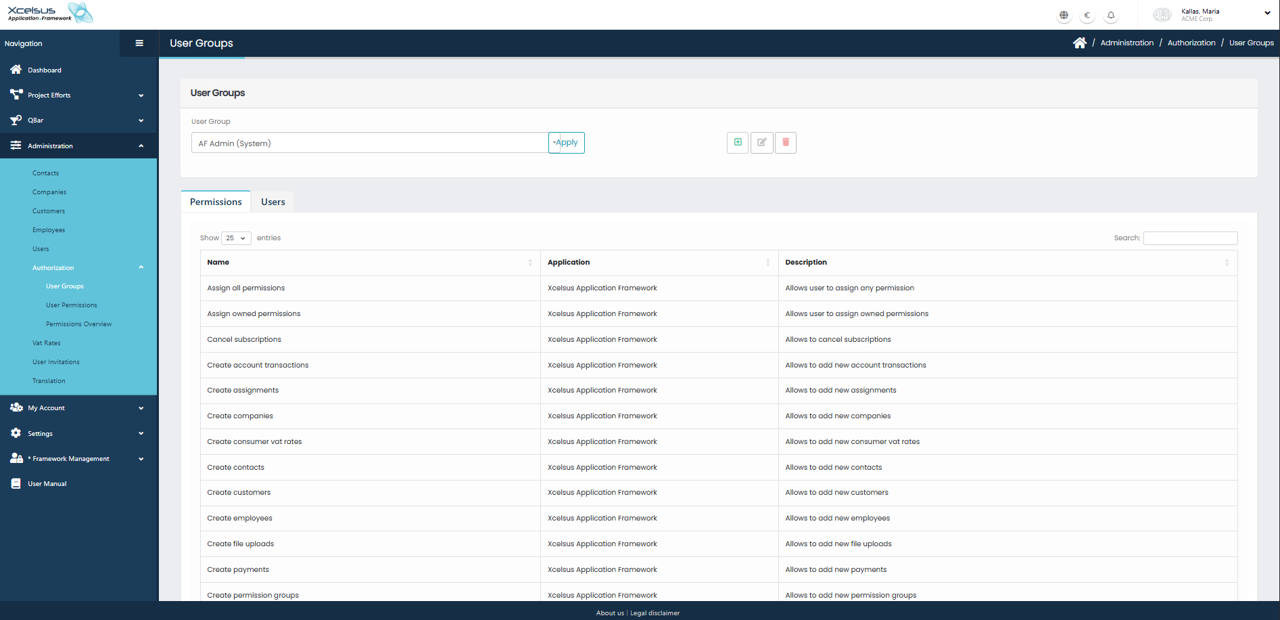
The User Groups section is located under Administration → Authorization → User Groups. This area allows administrators to create, view, and manage groups that define which permissions are assigned to users within the application. User groups simplify access control by allowing permissions to be managed collectively instead of assigning them individually to each user.
At the top of the page, the currently selected user group is displayed in the User Group field. Selecting a different group and clicking Apply will load the permissions associated with that group. Action buttons next to the selector allow you to add a new user group, edit the selected group, or delete it.
Below the selector, the page is divided into tabs. The Permissions tab displays a list of all available permissions for the selected user group. Each permission is shown with its name, the application it belongs to, and a short description explaining what access it grants. This list can be searched and filtered, making it easier to locate specific permissions in larger systems. Changes to permissions take effect immediately after they are saved.
The Users tab shows which users are currently assigned to the selected user group, helping administrators understand who is affected by the group’s permissions.
Adding or Updating a User Group
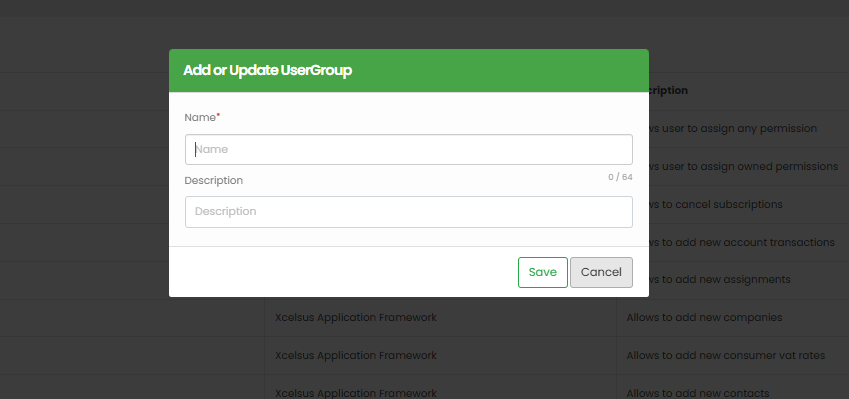
To create a new user group, click the green plus (+) button in the User Groups screen. This opens the Add or Update User Group dialog. The same dialog is used when editing an existing user group.
In the dialog, enter a Name for the user group. This field is required and should clearly describe the purpose or role of the group, such as Administrator, Finance, or Read-Only User. An optional Description can be provided to give additional context about how the group is intended to be used. The description is limited in length and is meant to help other administrators understand the group’s role.
Once all required information is entered, click Save to create or update the user group. If you choose not to proceed, click Cancel to close the dialog without saving any changes. After saving, the user group becomes available in the User Groups list and can be assigned permissions and users as needed.