Configuring QBar Settings
The QBar Settings section is used to control operational and payment-related options for the QBar system. This page is organized into categories listed on the left-hand side, allowing quick navigation between different configuration areas such as general settings, order options, pricing display, service methods, and tips.

Within the Available payment methods section, users can enable or disable payment functionality using toggle switches. The main toggle allows payment methods to be activated globally. Once enabled, additional options become available, such as allowing cash payments or enabling credit or debit card payments on site. Each option can be switched on or off independently, giving full control over which payment methods are offered to customers.
Changes made in this section are not applied automatically. After adjusting any settings, click the Save button at the bottom of the page to store your changes. If you decide not to keep the modifications, you can cancel the action before saving, and the previous settings will remain unchanged. This ensures that configuration changes are applied intentionally and consistently.
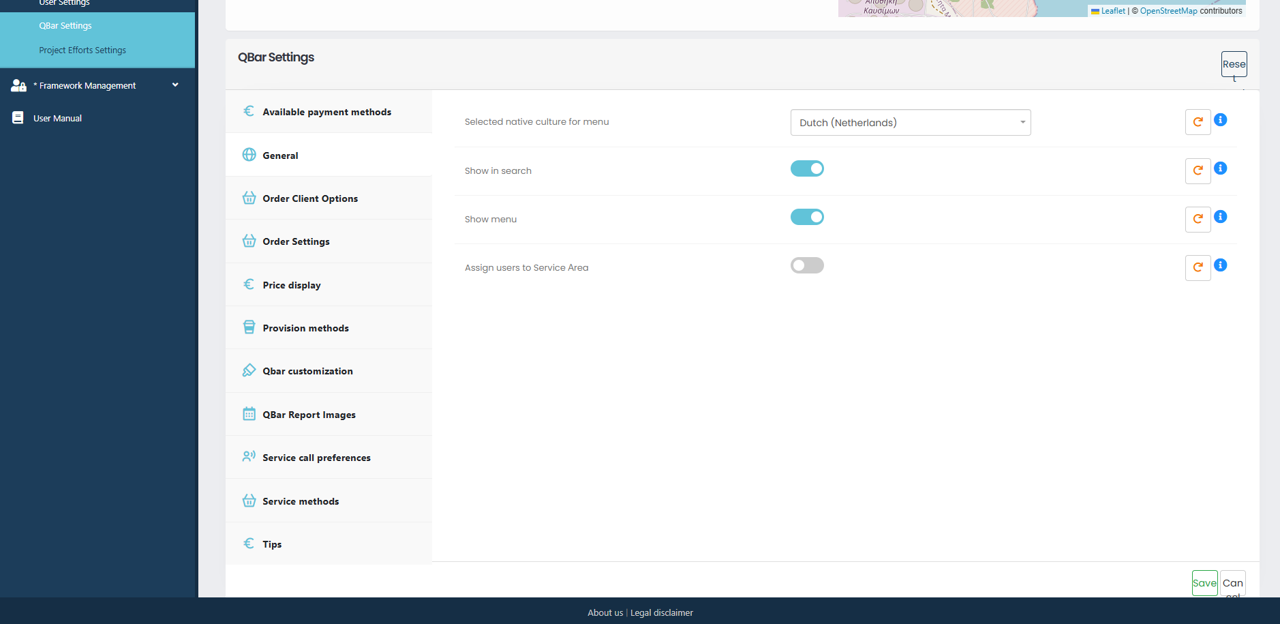
At the top of the General settings, you can select the native culture for the menu. This determines the language used throughout the QBar interface, ensuring the menu is displayed in a language appropriate for your users. Once selected, the menu labels and related interface elements will reflect the chosen culture.
You can also control whether QBar is visible and accessible in different parts of the system. The Show in search option determines if QBar appears in search results, allowing users to quickly find and access it. The Show menu option controls whether the QBar menu itself is displayed in the interface. Disabling this option hides the menu while keeping QBar functionality available in the background if needed.
Another available option is Assign users to Service Area. When enabled, this allows users to be linked to specific service areas, which can be useful for routing, filtering, or managing orders and services more efficiently. This option is disabled by default and can be activated when service-area-based workflows are required.
After making changes to any of these settings, click Save to apply them. If you wish to discard your changes, you can reset the values before saving.
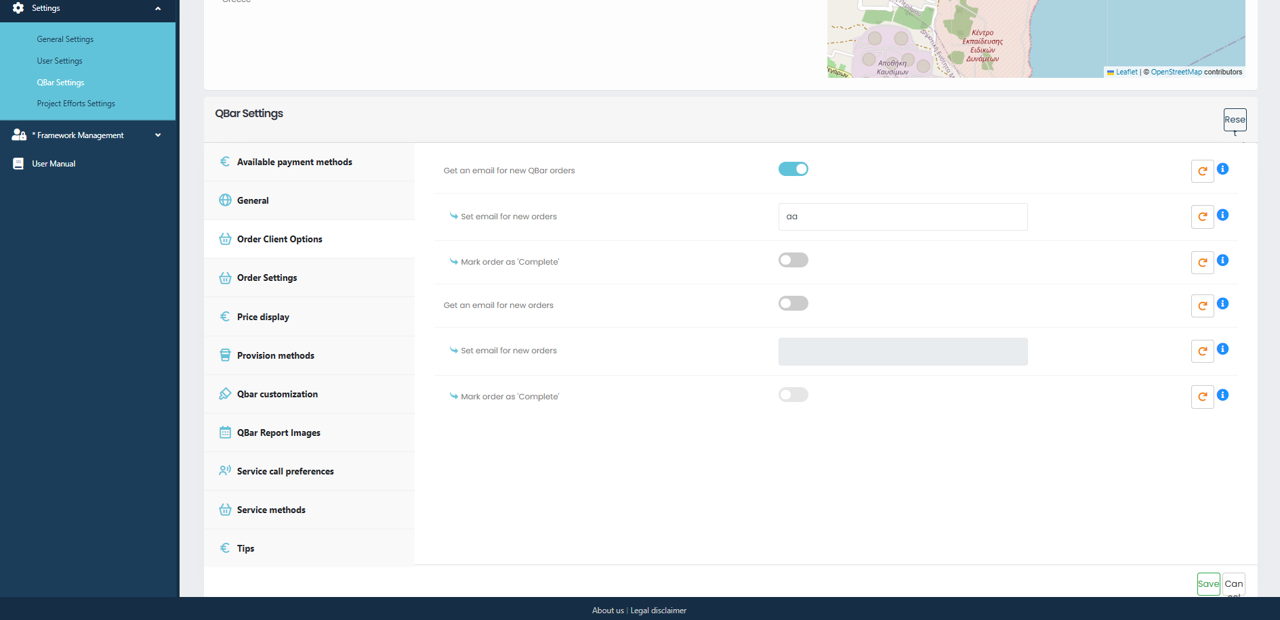
You can enable the option to receive an email for new QBar orders. When this setting is turned on, the system will send notifications whenever a new order is placed. Once enabled, you can specify the email address that should receive these notifications. This ensures that responsible users or teams are immediately informed of incoming orders.
In addition, you can control how orders are finalized by using the Mark order as “Complete” option. When enabled, orders can automatically or manually be marked as completed according to your workflow. This helps keep order statuses accurate and up to date within the system.
The same notification and completion options may appear for different order contexts, allowing you to configure behavior consistently across QBar order types. Some fields may be disabled until their corresponding toggle is activated, ensuring that only relevant settings can be edited.
As with other QBar settings, be sure to click Save after making changes to ensure your configuration is applied. Unsaved changes will not take effect.
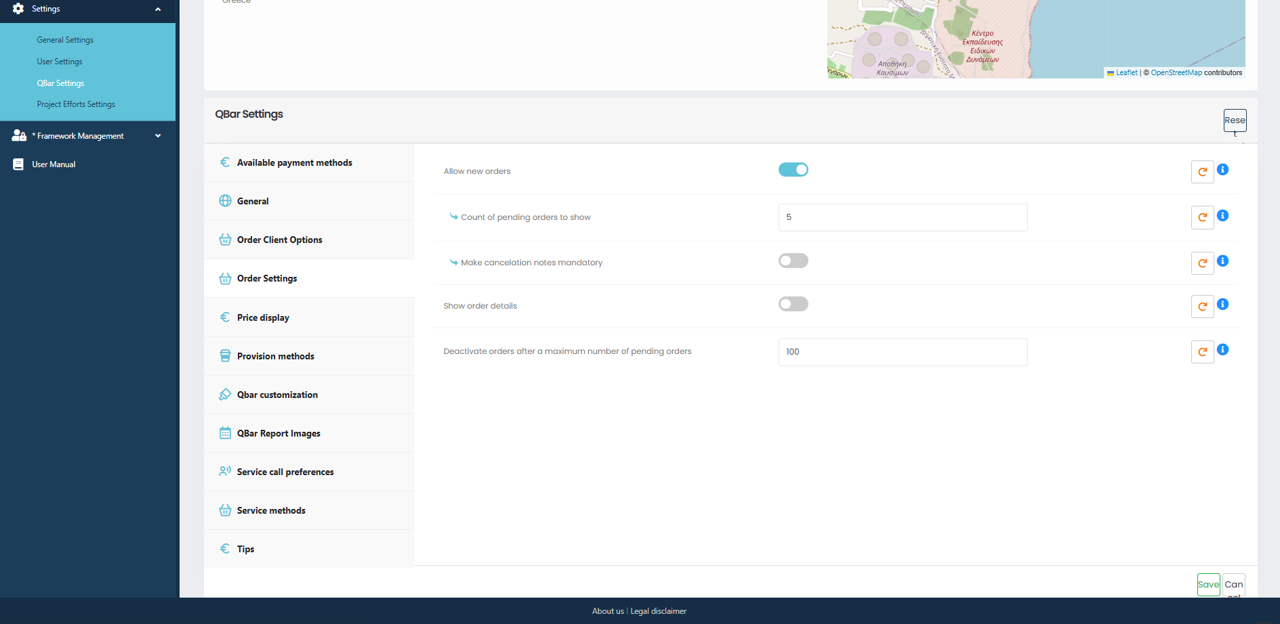
The Allow new orders option determines whether users are permitted to place new orders through QBar. When enabled, the system accepts incoming orders as usual. If disabled, new order creation is blocked, which can be useful during maintenance periods or temporary shutdowns.
The Count of pending orders to show field defines how many pending orders are displayed at one time. This helps control screen clutter and ensures users focus on a manageable number of active orders.
The Make cancellation notes mandatory option enforces accountability by requiring users to provide a reason when cancelling an order. When this option is turned off, cancellations can be completed without additional explanation.
The Show order details setting controls whether detailed order information is visible to users. Disabling this option simplifies the interface by hiding expanded order data.
The Deactivate orders after a maximum number of pending orders setting limits how many pending orders can exist simultaneously. Once the specified threshold is reached, the system automatically prevents additional orders from remaining active, helping to manage operational load.
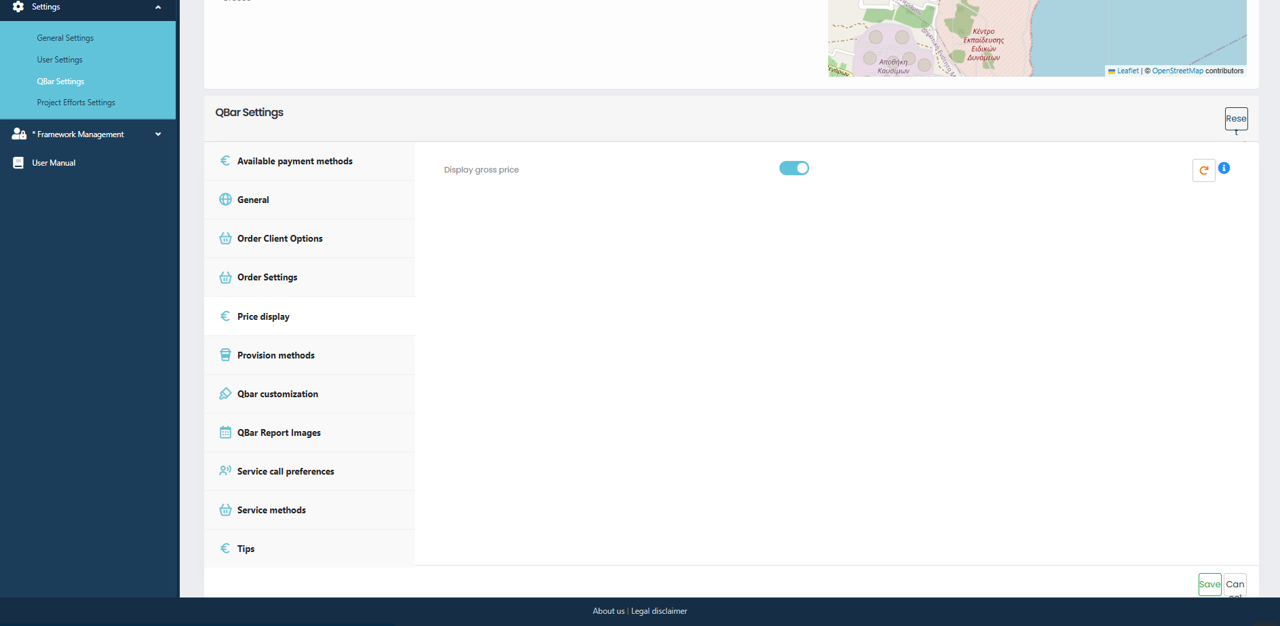
The Display gross price option determines how prices are presented throughout the QBar interface. When enabled, prices are shown inclusive of taxes and additional charges. When disabled, prices are displayed as net values only. This setting ensures pricing aligns with local regulations or business preferences.
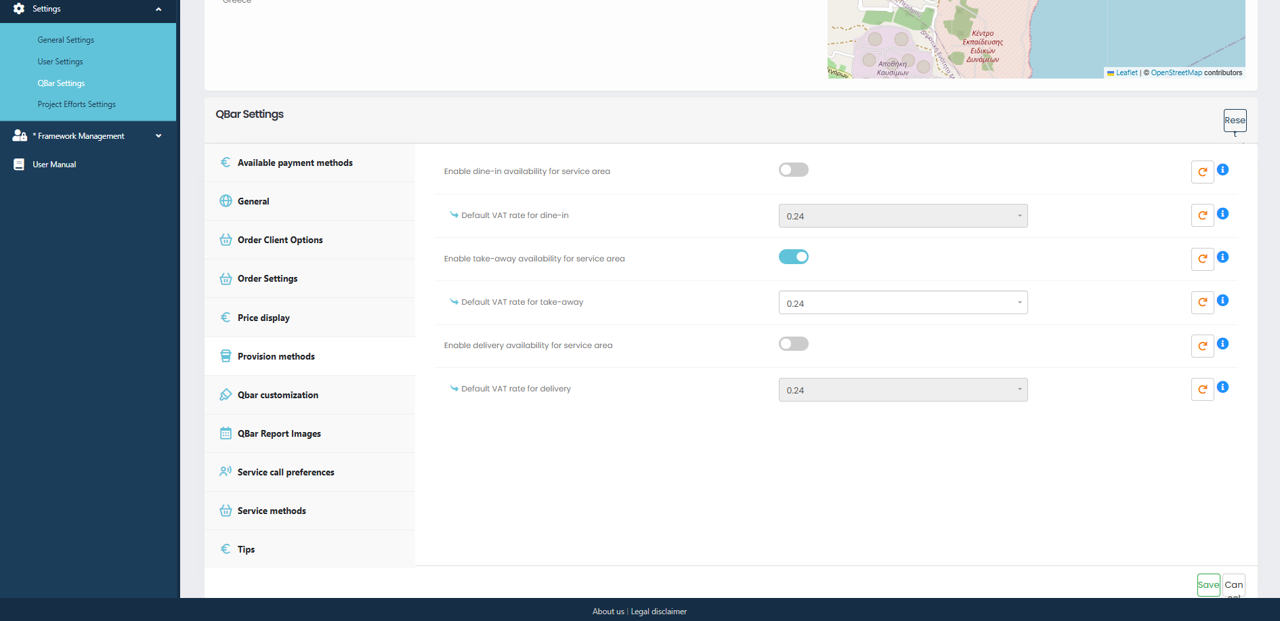
For each service type, a toggle switch is available to activate availability within the service area. When a service is enabled, you can assign a default VAT rate using the corresponding dropdown field. This VAT rate will be automatically applied to all orders placed through that service type, ensuring consistent tax calculation.
If a service is disabled, it will not be available to customers in the ordering interface. Any changes made on this page must be saved using the Save button at the bottom of the screen. If you wish to revert any changes before saving, you can use the Reset option to restore the previously saved values.
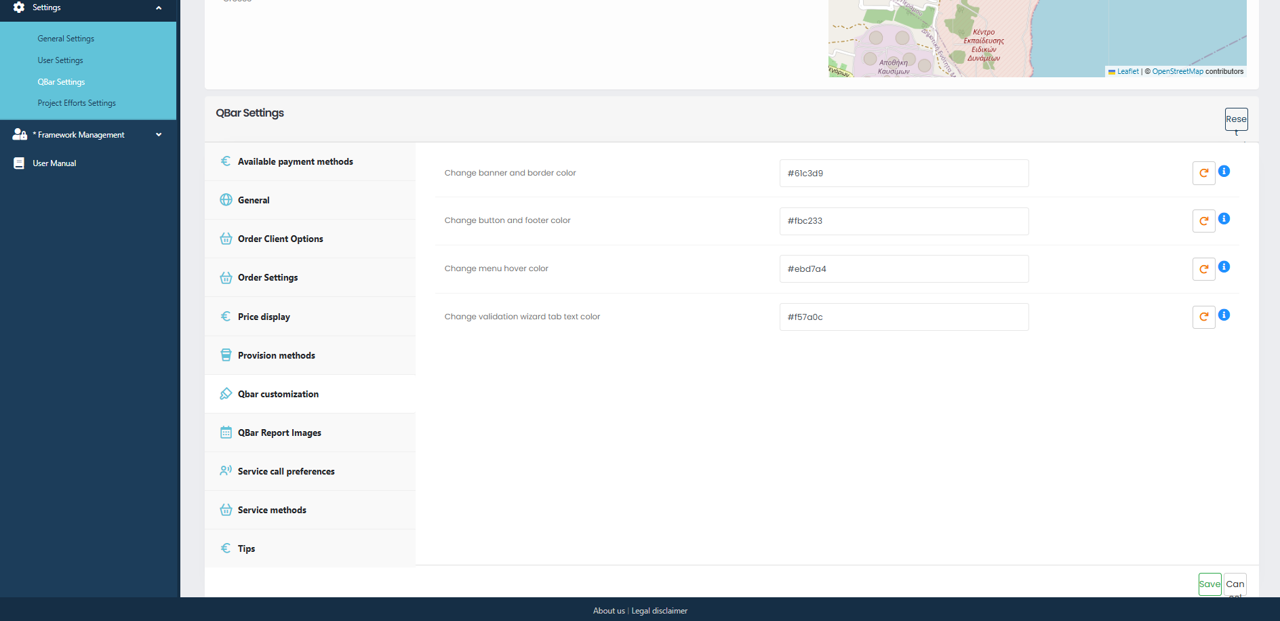
The QBar customization screen allows you to personalize the appearance of the QBar interface by adjusting key color elements. These settings help align the ordering experience with your brand identity and visual guidelines.
From this section, you can change the banner and border color, which affects the main visual framing of the interface. You can also define the button and footer color, ensuring that call-to-action elements are clear and visually consistent. Additional options allow you to customize the menu hover color, which determines how menu items appear when users interact with them, as well as the text color used in the validation wizard tabs.
All colors are entered using hexadecimal color codes, allowing precise control over the final appearance. Once you are satisfied with your selections, click Save to apply the changes. If needed, the Reset option can be used to discard unsaved modifications and restore the previous color configuration.

The QBar Report Images section allows you to configure the images that appear in QBar reports, depending on the selected layout orientation. These images are typically used as headers and help ensure that printed or exported reports follow your organization’s branding and formatting standards.
Within this section, you can upload a header image for vertical orientation and a header image for horizontal orientation. Each option provides a file selection control, allowing you to choose the appropriate image from your device. Once uploaded, the system will use the selected image automatically when generating reports in the corresponding orientation.
If you need to replace an existing image, simply upload a new file to overwrite the current one. Any changes made will take effect after you save the settings. If you decide not to keep your changes, you can reset the configuration before saving.
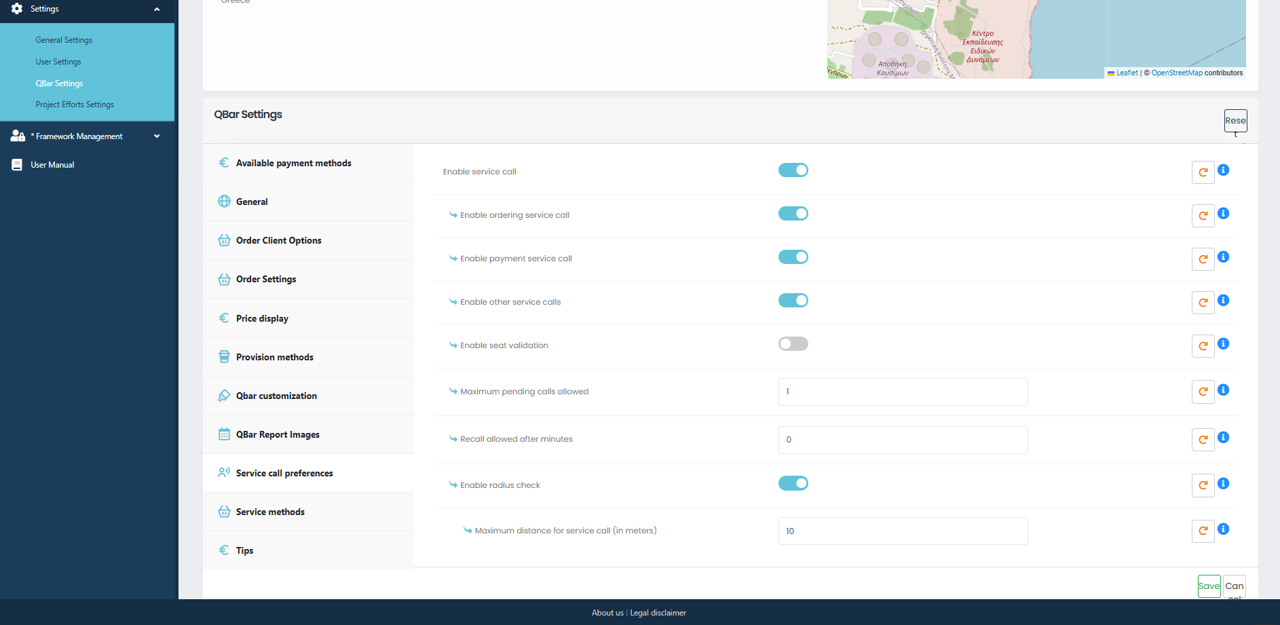
The Service Call Preferences section is used to control how service calls are enabled, validated, and managed within QBar. These settings determine which types of service calls are allowed and how the system behaves when multiple or repeated calls occur.
From this screen, you can enable or disable service calls entirely. When service calls are enabled, you may further control specific options such as ordering service calls, payment-related service calls, and other service call types. Each option can be toggled on or off depending on your operational requirements.
You can also define system limits and validation rules. This includes setting the maximum number of pending calls allowed, which restricts how many service requests can remain open at the same time. The recall allowed after minutes setting determines how soon a service call can be repeated after completion. If seat validation is required, it can be enabled to ensure that service calls are associated with valid seating.
Location-based restrictions can also be applied by enabling the radius check. When this option is active, service calls are only permitted within the specified maximum distance, measured in meters. This helps ensure that service requests are made from appropriate locations.
After adjusting the service call preferences, click Save to apply the changes. If you choose not to proceed, you can cancel or reset the settings, and no changes will be stored.

Within this view, you can enable or disable location-based restrictions by turning on the radius check. When this option is active, orders are only allowed within the specified maximum distance, measured in meters, from the venue’s location. This ensures that customers are physically close enough to place an order when required.
Security and verification options are also managed here. By enabling the PIN feature, you can require a numeric code to be used during service or order confirmation. The current PIN value can be set directly in the provided field, along with optional PIN-related information for internal reference or staff guidance.
Seating behavior is controlled through the seat settings. When seat assignment is marked as mandatory, customers must select a seat before proceeding. Additional verification can be enabled to ensure seat details are validated during the ordering process. Minimum order pricing can also be defined, preventing orders below a specified value from being submitted.
All changes made in this section take effect immediately after saving and help ensure consistent service rules across all QBar orders.
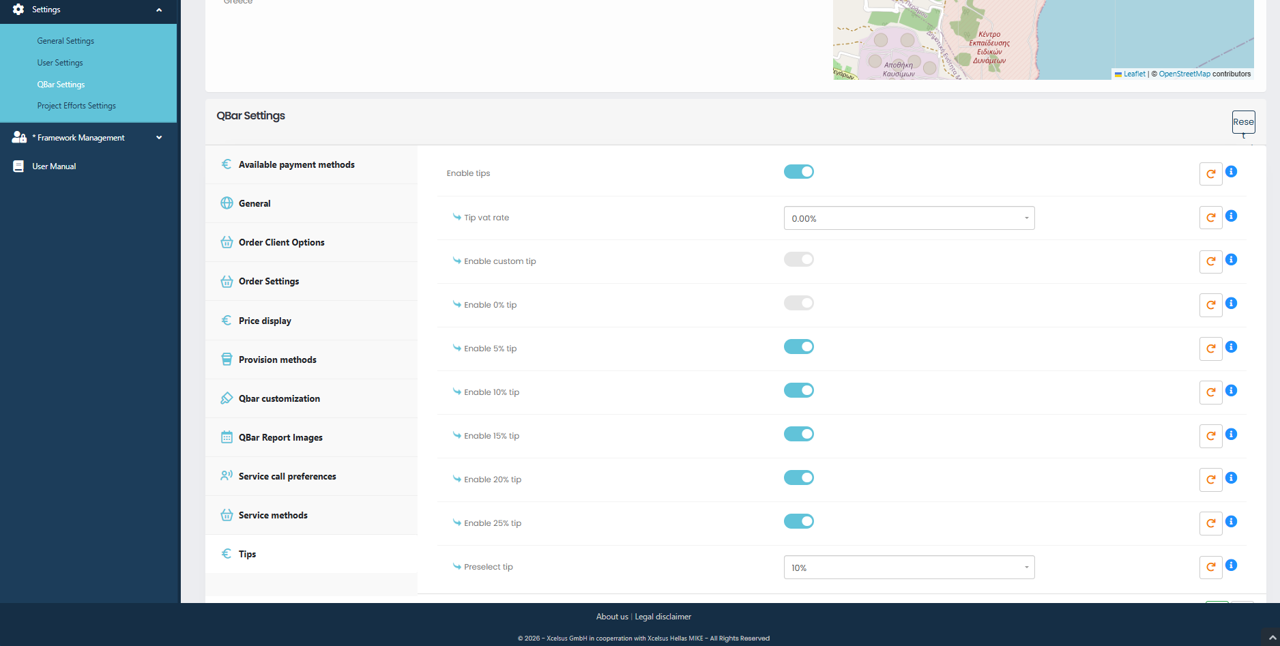
The Tips section allows you to manage how tipping is presented and handled during the ordering process. This configuration gives you full control over whether tips are available and which tip options are offered to customers.
When tipping is enabled, you can define a default tip rate and decide whether customers are allowed to enter a custom tip amount. In addition to custom values, predefined percentage options such as 5%, 10%, 15%, 20%, or 25% can be individually enabled or disabled, allowing you to tailor the tipping experience to your business needs.
You can also choose a preselected tip percentage, which will be automatically highlighted during checkout to guide customer selection while still allowing them to change it if desired. This helps streamline the payment process and encourages consistent tipping behavior.
These settings provide flexibility while maintaining control over how gratuities are displayed and applied within the QBar system.