General Settings
The General Settings section allows administrators to configure global behaviors and defaults that affect how the application operates. These settings apply system-wide and help standardize data entry, validation rules, and application behavior. Changes made in this section should be reviewed carefully, as they impact all users.
A Reset settings in this tab to default button is available at the top right, allowing you to restore all settings within the current tab to their original system values. After making changes, click Save to apply them or Cancel to discard any unsaved modifications.
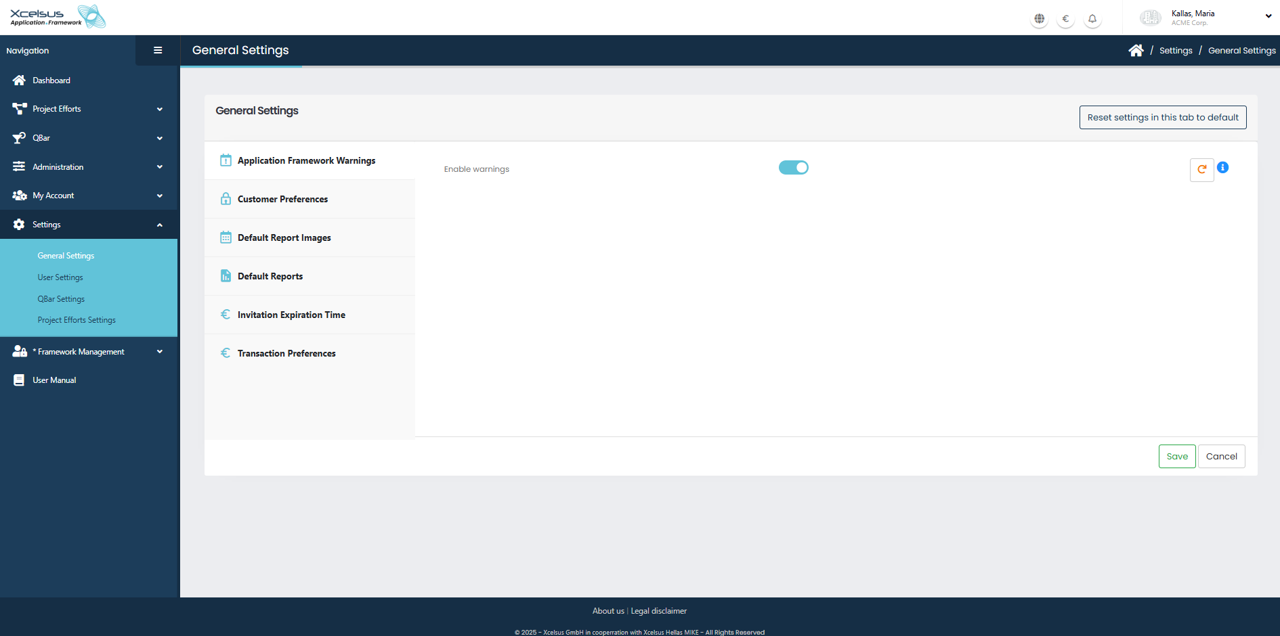
Application Framework Warnings
This section controls whether application-level warnings are displayed to users. By enabling warnings, the system will notify users about important framework-related messages, such as configuration issues or validation notices that may affect normal operation.
Use the toggle switch to enable or disable warnings. When enabled, relevant warning messages will appear throughout the application to help users identify potential issues early.
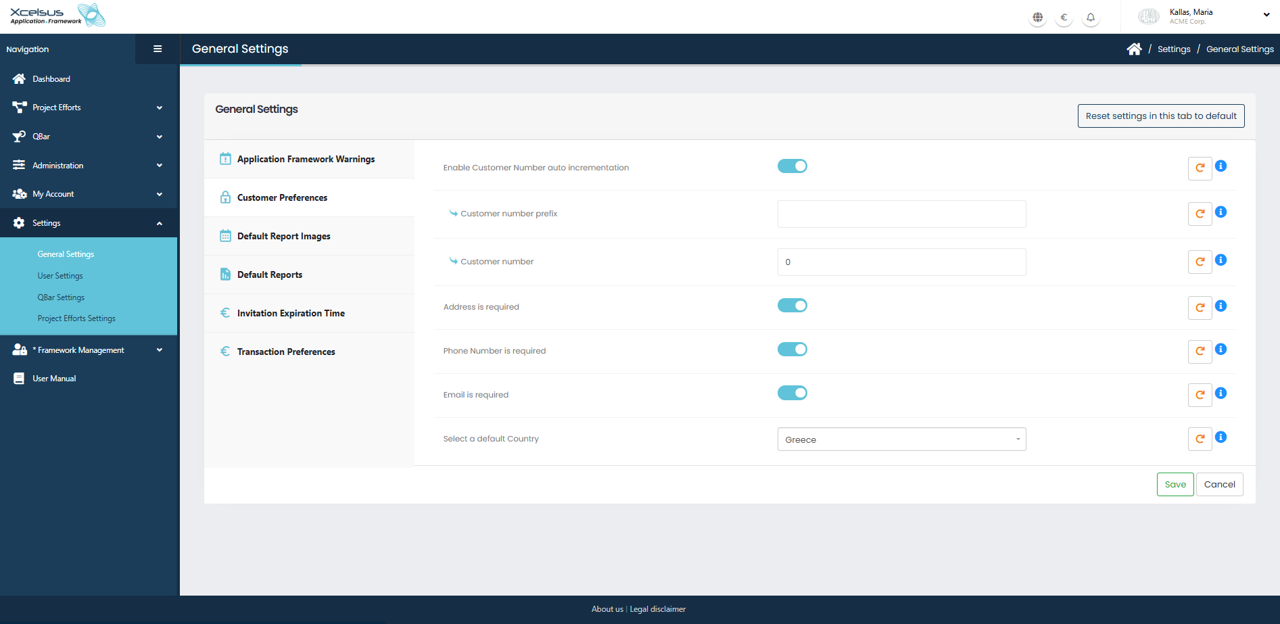
Customer Preferences
The Customer Preferences section defines default behaviors and required fields when creating or editing customer records. These settings help enforce consistency and ensure that essential customer information is collected.
You can enable Customer Number auto incrementation to allow the system to automatically generate customer numbers. When this option is active, you may define a customer number prefix and set the starting customer number value. This ensures all customer records follow a consistent numbering format.
Additional toggles allow you to specify whether certain fields are mandatory. You can require an address, phone number, and email for all customers by enabling the corresponding options. When these settings are active, users will not be able to save a customer record unless the required information is provided.
You may also select a default country, which will be automatically pre-filled when creating new customer records. This helps streamline data entry, especially for organizations operating primarily in a single country.
All changes in this section take effect immediately after clicking Save.
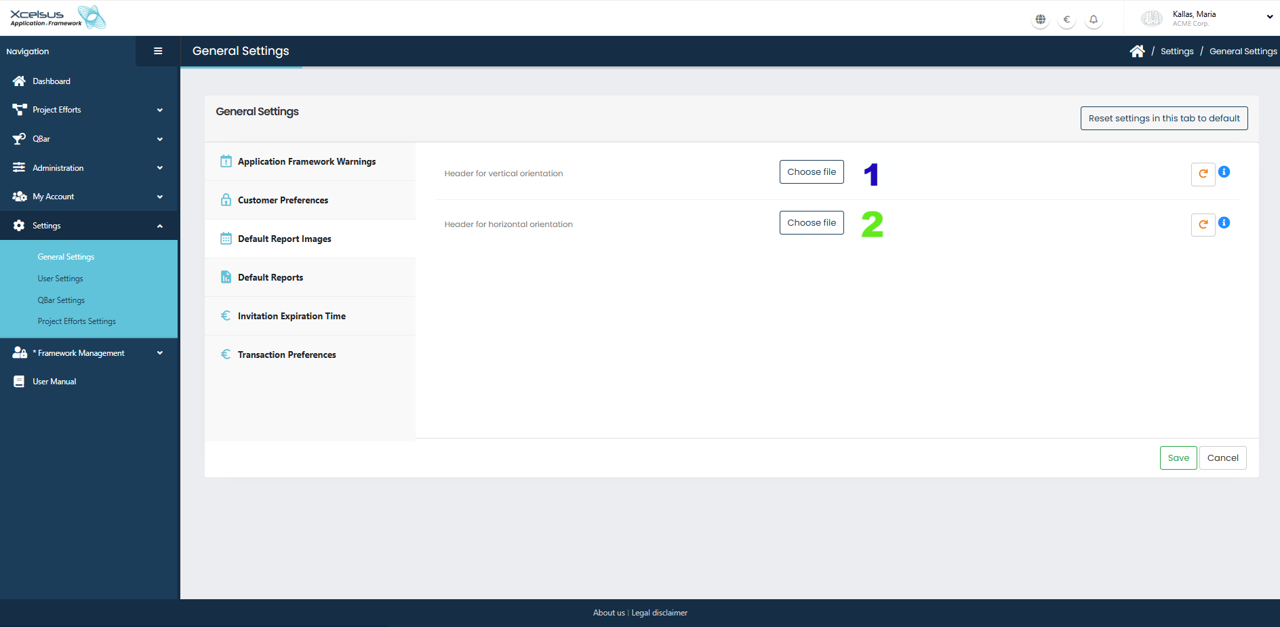
Default Report Images
The Default Report Images section allows you to define the header images that will appear on generated reports. These images are used to maintain consistent branding and layout across all reports produced by the system.
You can upload a header image for vertical orientation by clicking the Choose file button next to the corresponding field. This image will be used when reports are generated in portrait format. Similarly, you can upload a separate header image for horizontal orientation, which will be applied to landscape reports. Each orientation can have its own optimized image to ensure proper alignment and visual quality.
If an image has already been uploaded, it can be replaced at any time by selecting a new file. Changes will not take effect until you click the Save button at the bottom of the page. If you wish to discard your changes, click Cancel to return without saving. You may also reset the images to their system defaults using the Reset settings in this tab to default option. 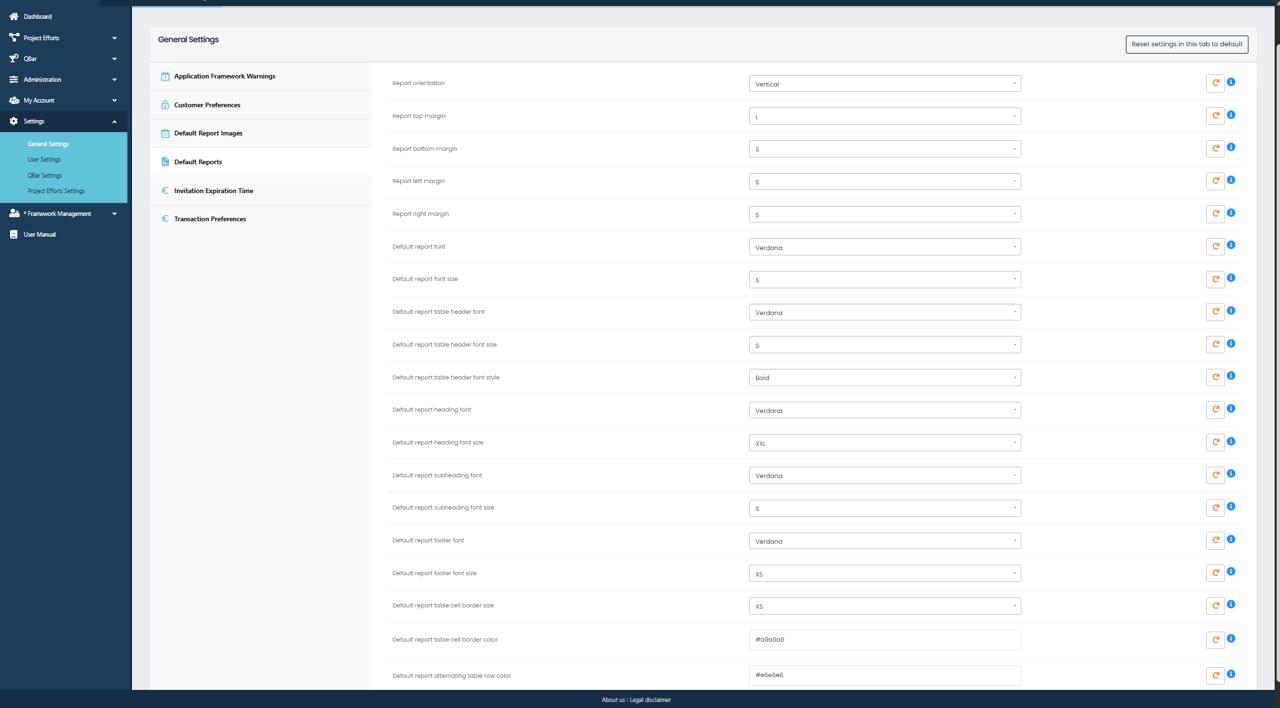
Default Reports
The Default Reports section is used to configure the layout, formatting, and visual appearance of all system-generated reports. These settings act as global defaults and are automatically applied unless overridden elsewhere.
At the top of the section, you can select the report orientation, such as vertical or horizontal, which determines the overall page layout. You can then define the top, bottom, left, and right margins to control spacing around the report content. These margin values ensure reports are properly aligned and printable.
This section also allows you to specify default typography settings. You can choose the font family and font size for standard report text, as well as separate font settings for table headers, headings, subheadings, and footers. Font styles such as bold can be applied where appropriate to improve readability and visual hierarchy.
Additional options are available to control table appearance, including table border size, border color, and alternating row background colors. These settings help improve clarity when displaying tabular data in reports.
Once all desired settings are configured, click Save to apply the changes. If you prefer to revert all values back to the original system configuration, use the Reset settings in this tab to default button. Any changes will remain local to this section until they are saved.

Invitation Expiration Time
The Invitation Expiration Time section allows administrators to define how long user invitations remain valid before they expire automatically. This setting helps improve system security by ensuring that unused invitations do not stay active indefinitely.
In this section, you can specify the default time limit in hours. Once an invitation is sent, the recipient must accept it within the configured time frame. If the time limit is exceeded, the invitation becomes invalid and a new invitation must be sent.
You can restore the original system value at any time by clicking Reset settings in this tab to default. After entering or modifying the time limit, click Save to apply the changes. If you choose not to proceed, click Cancel to discard any updates.
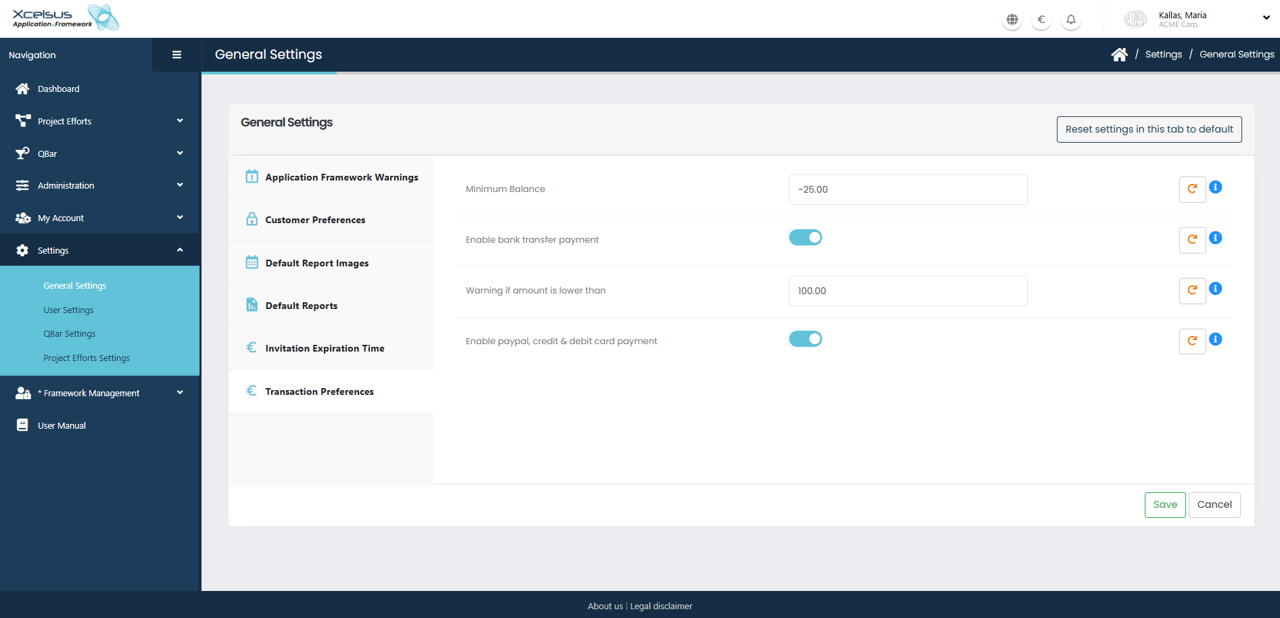
Transaction Preferences
The Transaction Preferences section controls how financial transactions and payment options behave within the system. These settings allow administrators to define balance limits, payment methods, and warning thresholds for customers.
The Minimum Balance field specifies the lowest balance a customer is allowed to reach. If a negative value is entered, customers may continue transactions until that limit is reached. This is useful for allowing limited credit or overdraft behavior.
You can enable or disable bank transfer payments using the toggle switch. When enabled, customers are allowed to pay via bank transfer as an available payment method.
The Warning if amount is lower than field defines a threshold that triggers a warning when a customer’s balance falls below the specified amount. This helps notify users before they reach the minimum balance limit.
Additionally, you can enable PayPal, credit, and debit card payments using the corresponding toggle. When activated, these payment options become available to customers during transactions.
As with other settings, you may restore default values by clicking Reset settings in this tab to default. Be sure to click Save to confirm any changes, or Cancel if you do not wish to apply them.